
Wild Yeast Starter
Our instructions for how to use and keep a natural yeast starter going!
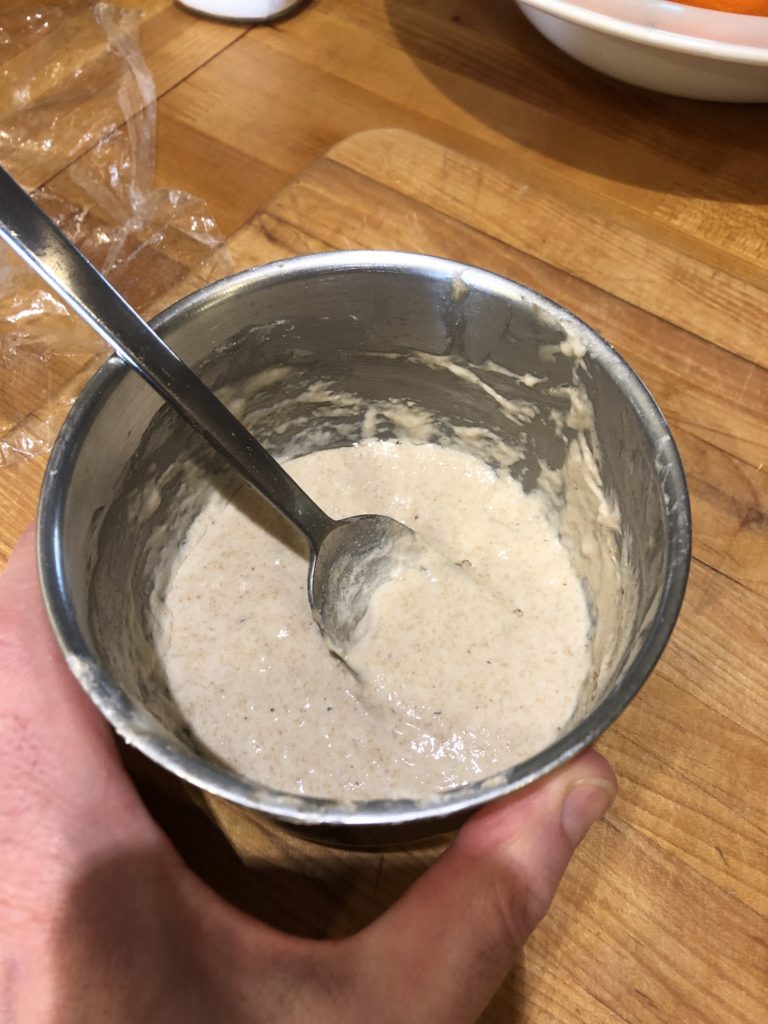
We keep our starter in a bowl and just leave the spoon in there. Every few months, when the edges get caked with too much crusty dough, we swap bowls.
This process is called “feeding the starter”. You can feed it every 12 hours or so to get faster results, or every 24 hours.

Dump out most of the starter, leaving just what’s coating the bowl. All it needs is about a teaspoon left.

Add about 1/4 to 1/2 of a cup of flour. We add different types of flour just for diversity, and since it’s on the counter: all purpose, bread flour, and whole wheat, but you can use anything.

Add about the same weight in water as flour, or just eyeball it and mix until it’s a very thick batter, just enough to stir. If it’s too runny, you can add a bit more flour. Lukewarm water will help the yeast grow faster.

Cover with something to keep it moist. We use some plastic wrap and just keep using the same piece for a few months.
24 hours after the first feeding, there are a few small bubbles, but it’s not super active. Feed it again!

After the 2nd feeding, this starter is looking ready to use, but could benefit from another feeding. Notice the nice big bubbles. If you want to check if it’s ready, it should smell yeasty, and a spoonful should float in water when ready.

After the 3rd feeding. In the previous picture and this one, you can clearly see bubbles forming in the dough. This one is a little stronger, and will make better bread. Either one will be good enough for pancakes, though.